Article version: Enterprise Server 2.17
Basic writing and formatting syntax
Create sophisticated formatting for your prose and code on GitHub with simple syntax.
Headings
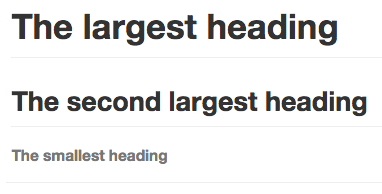
To create a heading, add one to six # symbols before your heading text. The number of # you use will determine the size of the heading.
# The largest heading
## The second largest heading
###### The smallest heading
Styling text
You can indicate emphasis with bold, italic, or strikethrough text.
| Style | Syntax | Keyboard shortcut | Example | Output |
|---|---|---|---|---|
| Bold | ** ** or __ __ | command/control + b | **This is bold text** | This is bold text |
| Italic | * * or _ _ | command/control + i | *This text is italicized* | This text is italicized |
| Strikethrough | ~~ ~~ | ~~This was mistaken text~~ | ||
| Bold and nested italic | ** ** and _ _ | **This text is _extremely_ important** | This text is extremely important | |
| All bold and italic | *** *** | ***All this text is important*** | All this text is important |
Quoting text
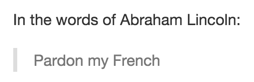
You can quote text with a >.
In the words of Abraham Lincoln:

> Pardon my French
Tip: When viewing a conversation, you can automatically quote text in a comment by highlighting the text, then typing r. You can quote an entire comment by clicking , then Quote reply. For more information about keyboard shortcuts, see "Keyboard shortcuts."
Quoting code
You can call out code or a command within a sentence with single backticks. The text within the backticks will not be formatted.
Use `git status` to list all new or modified files that haven't yet been committed.

To format code or text into its own distinct block, use triple backticks.
Some basic Git commands are:
```
git status
git add
git commit
```

For more information, see "Creating and highlighting code blocks."
Links
You can create an inline link by wrapping link text in brackets [ ], and then wrapping the URL in parentheses ( ). You can also use the keyboard shortcut command + k to create a link.
This site was built using [GitHub Pages](https://pages.github.com/).

Tip: GitHub Enterprise automatically creates links when valid URLs are written in a comment. For more information, see "Autolinked references and URLS."
Section links
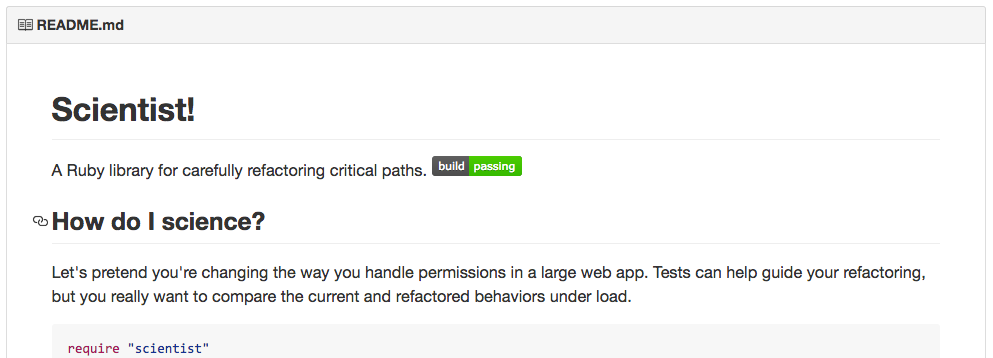
You can link directly to a section in a rendered file by hovering over the section heading to expose the link:
Relative links
You can define relative links and image paths in your rendered files to help readers navigate to other files in your repository.
A relative link is a link that is relative to the current file. For example, if you have a README file in root of your repository, and you have another file in docs/CONTRIBUTING.md, the relative link to CONTRIBUTING.md in your README might look like this:
[Contribution guidelines for this project](docs/CONTRIBUTING.md)
GitHub Enterprise will automatically transform your relative link or image path based on whatever branch you're currently on, so that the link or path always works. You can use all relative link operands, such as ./ and ../.
Relative links are easier for users who clone your repository. Absolute links may not work in clones of your repository - we recommend using relative links to refer to other files within your repository.
Lists
You can make an unordered list by preceding one or more lines of text with - or *.
- George Washington
- John Adams
- Thomas Jefferson

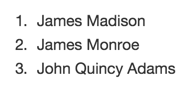
To order your list, precede each line with a number.
1. James Madison
2. James Monroe
3. John Quincy Adams
Nested Lists
You can create a nested list by indenting one or more list items below another item.
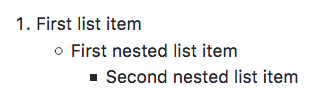
To create a nested list using the web editor on GitHub Enterprise or a text editor that uses a monospaced font, like Atom, you can align your list visually. Type space characters in front of your nested list item, until the list marker character (- or *) lies directly below the first character of the text in the item above it.
1. First list item
   - First nested list item
     - Second nested list item

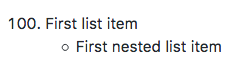
To create a nested list in the comment editor on GitHub Enterprise, which doesn't use a monospaced font, you can look at the list item immediately above the nested list and count the number of characters that appear before the content of the item. Then type that number of space characters in front of the nested list item.
In this example, you could add a nested list item under the list item 100. First list item by indenting the nested list item a minimum of five spaces, since there are five characters (100. ) before First list item.
100. First list item
     - First nested list item
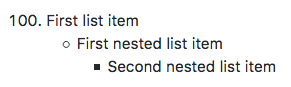
You can create multiple levels of nested lists using the same method. For example, because the first nested list item has seven spaces (␣␣␣␣␣-␣) before the nested list content First nested list item, you would need to indent the second nested list item by seven spaces.
100. First list item
     - First nested list item
       - Second nested list item
For more examples, see the GitHub Flavored Markdown Spec.
Task lists
To create a task list, preface list items with a regular space character followed by [ ]. To mark a task as complete, use [x].
- [x] Finish my changes
- [ ] Push my commits to GitHub
- [ ] Open a pull request

If a task list item description begins with a parenthesis, you'll need to escape it with \:
- [ ] \(Optional) Open a followup issue
For more information, see "About task lists."
Mentioning people and teams
You can mention a person or team on GitHub Enterprise by typing @ plus their username or team name. This will trigger a notification and bring their attention to the conversation. People will also receive a notification if you edit a comment to mention their username or team name. For more information about notifications, see "About notifications."
@github/support What do you think about these updates?

When you mention a parent team, members of its child teams also receive notifications, simplifying communication with multiple groups of people. For more information, see "About teams."
Typing an @ symbol will bring up a list of people or teams on a project. The list filters as you type, so once you find the name of the person or team you are looking for, you can use the arrow keys to select it and press either tab or enter to complete the name. For teams, enter the @organization/team-name and all members of that team will get subscribed to the conversation.
The autocomplete results are restricted to repository collaborators and any other participants on the thread.
Referencing issues and pull requests
You can bring up a list of suggested issues and pull requests within the repository by typing #. Type the issue or pull request number or title to filter the list, and then press either tab or enter to complete the highlighted result.
For more information, see "Autolinked references and URLs."
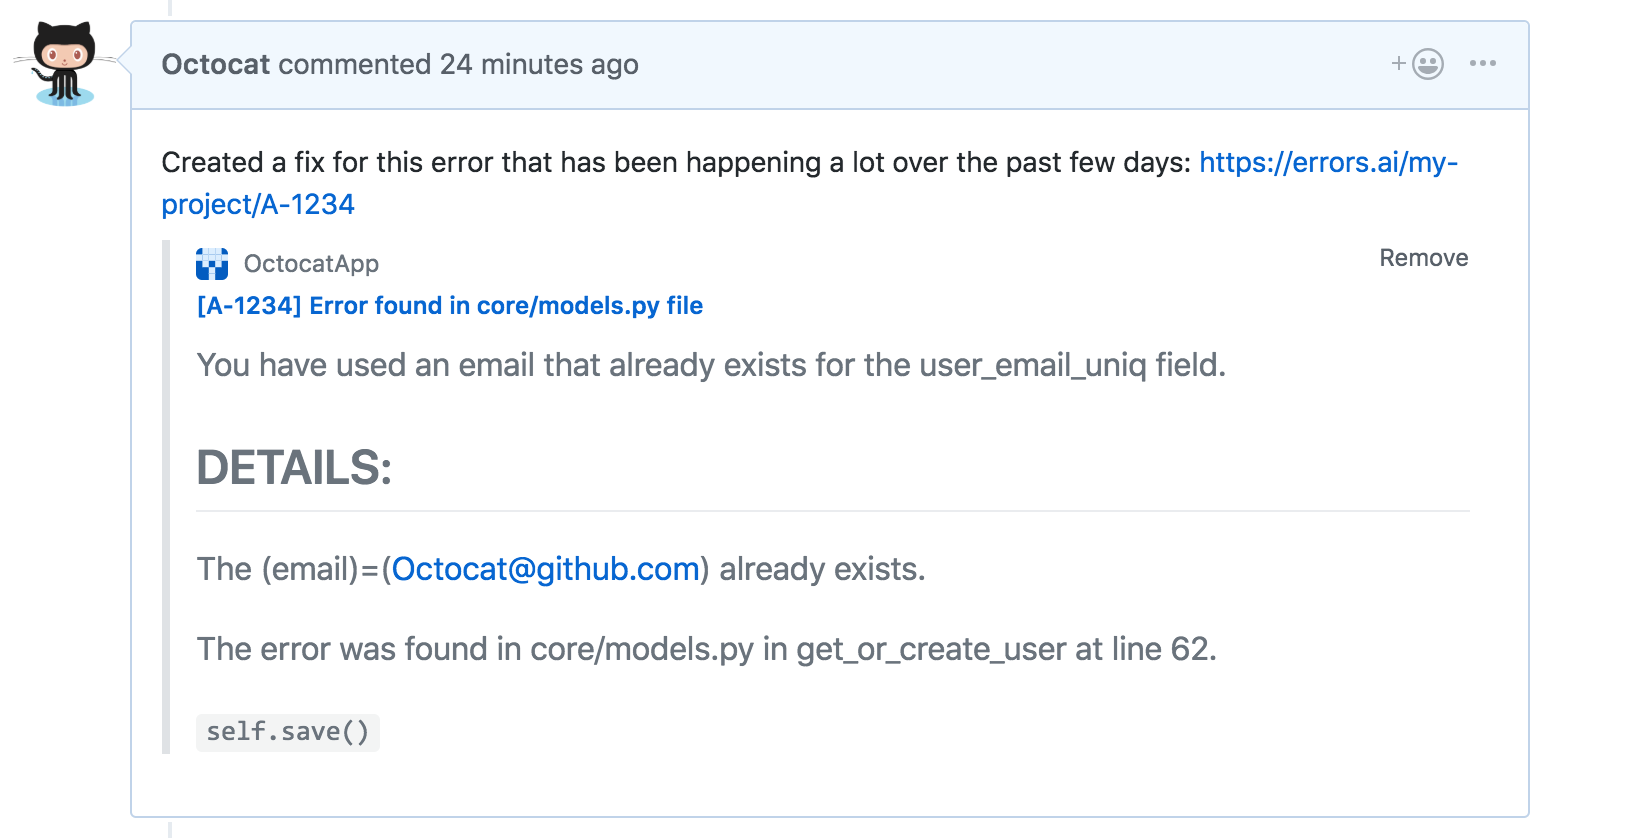
Content attachments
Some GitHub Apps provide information in GitHub Enterprise for URLs that link to their registered domains. GitHub Enterprise renders the information provided by the app under the URL in the body or comment of an issue or pull request.
To see content attachments, you must have a GitHub App that uses the Content Attachments API installed on the repository.
Content attachments will not be displayed for URLs that are part of a markdown link.
For more information about building a GitHub App that uses content attachments, see "Using Content Attachments" in the the GitHub Developer documentation.
Using emoji
You can add emoji to your writing by typing :EMOJICODE:.
@octocat :+1: This PR looks great - it's ready to merge! :shipit:

Typing : will bring up a list of suggested emoji. The list will filter as you type, so once you find the emoji you're looking for, press Tab or Enter to complete the highlighted result.
For a full list of available emoji and codes, check out emoji-cheat-sheet.com.
Paragraphs
You can create a new paragraph by leaving a blank line between lines of text.
Ignoring Markdown formatting
You can tell GitHub Enterprise to ignore (or escape) Markdown formatting by using \ before the Markdown character.
Let's rename \*our-new-project\* to \*our-old-project\*.

For more information, see Daring Fireball's "Markdown Syntax."