About repository visibility changes
Organization owners can restrict the ability to change repository visibility to organization owners only. For more information, see "Restricting repository visibility changes in your organization."
We recommend reviewing the following caveats before you change the visibility of a repository.
Making a repository private
- GitHub will detach public forks of the public repository and put them into a new network. Public forks are not made private. For more information, see "What happens to forks when a repository is deleted or changes visibility?"
- Anonymous Git read access is no longer available. For more information, see "Enabling anonymous Git read access for a repository."
Making a repository public
- GitHub will detach private forks and turn them into a standalone private repository. For more information, see "What happens to forks when a repository is deleted or changes visibility?"
- If you're converting your private repository to a public repository as part of a move toward creating an open source project, see the Open Source Guides for helpful tips and guidelines.
Making a repository private
- On GitHub Enterprise Server, navigate to the main page of the repository.
- Under your repository name, click
Settings.

- Under "Danger Zone", next to "Make this repository private", click Make private.

- Read the warnings about making a repository private.
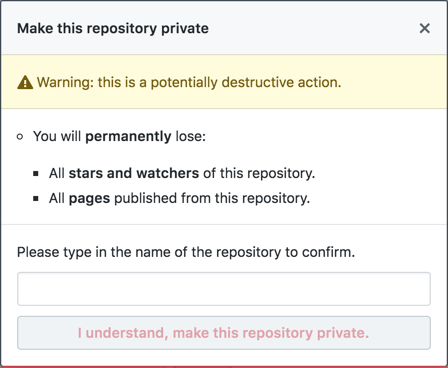
- Type the name of the repository that you want to make private, for example
accountname/reponame. - Click I understand, make this repository private.
Making a repository public
- On GitHub Enterprise Server, navigate to the main page of the repository.
- Under your repository name, click
Settings.
- Under "Danger Zone", next to "Make this repository public", click Make public.

- Read the warnings about making a repository public.
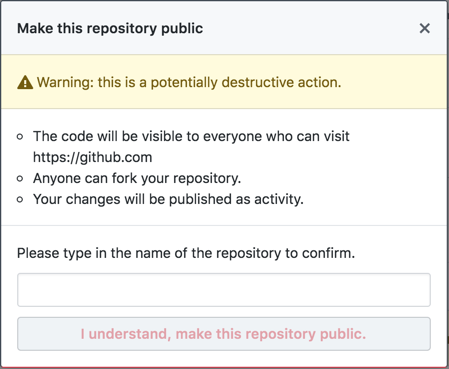
- Type the name of the repository that you want to make public, for example
accountname/reponame. - Click I understand, make this repository public.